SOFT ROBOTICS
What is soft robotics?
Soft robotics is constructed with soft and deformable materials like silicone, plastic, fabric, rubber, or compliant mechanical parts like springs. (define by Wikipedia)
FOR EXAMPLE:


(search the keyword "soft robotics" on internet)
It's a popular topic in our daily now.
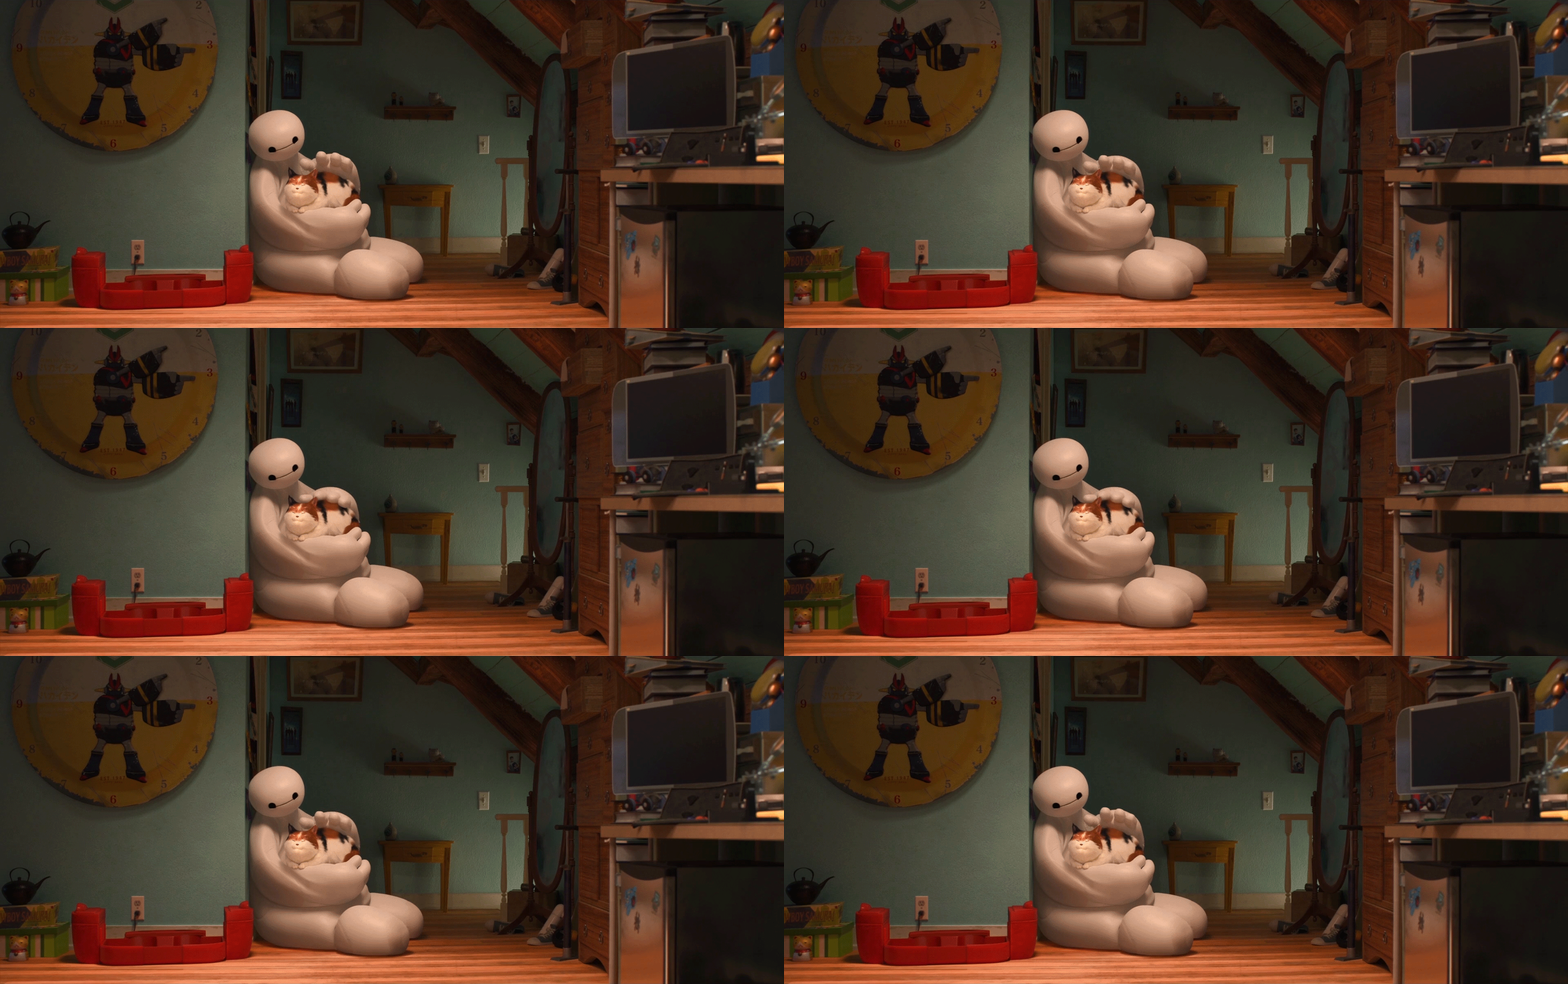
The famous animated film "BIG HERO 6".
-----Baymax-----


IDEA
SOFT ROBOTICS
My goals for this project were as followed:
(1) learn the principle from the nature
(2) not only hack animal but also plant
(3) combine the thing i like
(4) the final product can be use in helping people
Idea Inspiration:


Combine the function:


Sketch:
--WAIT --- IT WILL BE UPDATING IN FEW DAYS :D


CT SACN
CT SCAN combined with X-ray images taken from different angles.
Allowing the user to see the inside part of the object.
What is CT SCAN?
CT SCAN combined with X-ray images taken from different angles.
Allowing the user to see the inside part of the object.
Pumpkin?
I choose pumpkin as a model to scan.
It is because the surface of the pumpkin is related to my idea inspiration.
I want to learn more about the undulated shape.
The process of I use CT -SCAN:

I choose pumpkin to scan. The object can’t be too big.
So I went to the flower market and buy a smallest pumpkin.

Adjust the height of the object.
If the object is too high, the top of the detail won’t be scan.

You can take the pad away to adjust it.

Put my pumpkin on the middle.

And close the door of the machine.
It is important, Make sure you close the door of the machine.

Next, open the software in the computer.

Adjust the data of 管電壓 and 電流 .

Choose the “N” (at the bottom, circle shape one) and click “攝影” on the middle to test it first.

If it’s fine (can’t look too dark or too bright),
choose the ”O” (at the bottom, circle shape one) and then click the button at the right down to start X-ray.

(When it start to scan, can't open the door of the machine, it is really dangerous!!!!!!!!!!)

When it finish, the computer will come up the other software immediately.

You can adjust the slider on the right to make the model more clearly.

NICE~
My pumpkin looks wonderful.

Save the data when you are all done.

Go to the place that the file is saved. Click in and choose the “Volcume”.

All data are in this file(Volcume).
What do I learn from this experience?
After CT scanning I got the model of real pumpkin shape.
Many objects in nature can’t use 3D modeling software to build. Through the CT scanner, the problem has been resolve.
I saw the pumpkin’s seed inside. I plan to separate the seed and the pulp. If it success, I will print it out.

After CT scanning, we have to edit the data in another software.
-----ROIPAINTER-----
The purpose we use ROIPAINT:
I want to print out my pumpkin after CT scanning, but there are a lot of holes inside the object.
Before use the 3D printer, I have to fill the holes inside the pumpkin first. Let start it~~~

Sakiho is such a good teacher at teaching ROINPAINT.
Thank you a lot~
The process of I use RIOPAINT:

Open the software.

The first is open the file. Click “Open slices (bmp, dcm, tif)”

Choose all the data in Volume.

Click “Ascending direction”.
(if you choose “descending direction”, the object goes like “mirror side” . )

LOADING……

ModeSwitch > Segmentation Region > Growing

Double-click the gray(or maybe it’s white) region. It’ll come up a RED dot.
Make sure you put a RED dot on it.

You can modify the number by the slider on the right.
(Region Growing / Thresholding / min)
And then, click “Region growing 6”. (on the middle, second one)

The green object is my pumpkin.
There is an angel ring around the top. It’s not OK!
So, modify the slider (Thresholding / min) again.

Try again and again. UNTIL…….The shape looks like pumpkin.

NICE~ And then click “End & Store Region”. (It’s on the bottom.)

Choose “1.region”. It’s mean only pumpkin region. (0.bckGrnd mean all region.)

The pumpkin has hole inside, it can’t print it out like this. Start to fill the holes.
Click “dilate” two times.

And then click “erode” two times.
The small holes will be filled.
The next step is click “fill hole”(It’s on the ride side.)

“fill hole ”. it’s mean –fill the hole not connect with outside. Import the number.
The maxima number is 5.

The hole has been filled.
It come up another region(the pink one).
Choose the two region(the pumpkin and the hole) and click ”Marge to”.
It will combine together.

The final step is to save the file. Export as OBJ.

Or export as STL.

When you turn the file to OBJ or STL, you can open in "Mashmixer".

This is the other object that i scan.

SCULPTRIS
Malayan Tapir


Cyclobalanopsis Glauca-Japanese Black Oak


Quercus Variabilis


Malaysia Clam


シリコーン
I builded the model on the computer. But the 3D printer take to long to print out the object. So i changed the way. I print out the shape of my “petal”. And handmade the model
2016.11.29
 IMG_4329 |  IMG_4327 |
|---|---|
 IMG_4324 |  IMG_4325 |
 IMG_4326 |  IMG_4330 |
 IMG_4328 |  IMG_4332 |
 IMG_4333 |  IMG_4334 |
|---|---|
 IMG_4335 |  IMG_4336 |
 IMG_4338 |  IMG_4391 |
 IMG_4396 |  IMG_4395 |
The thing i learn from the experience of last time:
-Number 10“ シリコーン is too soft and the other blue シ リコーン is too hard. So i buy number 30” シリコーン to make my project again.
-the mold should be hard, otherwise the シリコーン will be hard to take it off.
-make the project early because シリコーン take long time to make it dry.

2016.12.06
This time i made my mold by 3D printing.
Two type of mold to test it, the one is square and the other shape is “Y”.
the shape of square is better~
2016.12.13

This week assignment is "Make a soft rorotic which has multi-channels and needs multi-syringes."

This s the main part of my soft robotic .

tThe assistment of injection.

The injection


